Mars October 2019 Log
October 1, 2019 - October 31, 2019
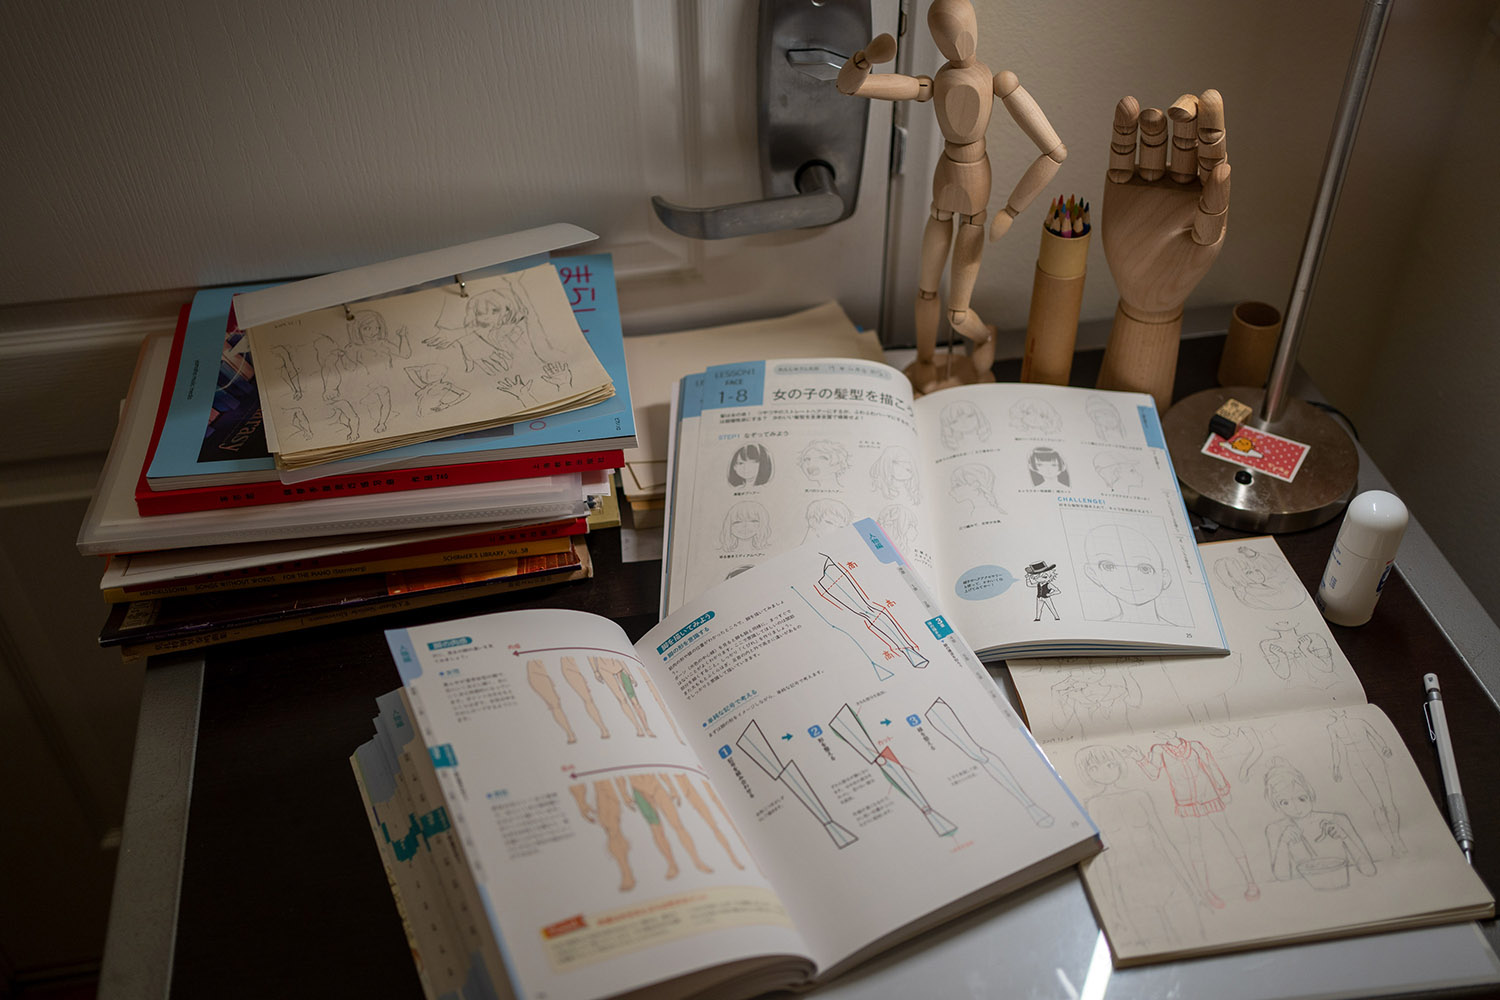
Drawing table
Material Project
Wood - Serving Tray
2019/9/10
I travelled to the United Kingdom this March. I enjoyed the dinner my friends and I had at a steak place. The chef put the steak on top of a dark wooden serving tray. The entire restaurant was not bright and well-lit, and all the chairs and tables were made of wood. This configuration of the restaurant created a special atmosphere and attached personality to the food and the restaurant. I would never forget my experience there, and for this project, I wanted to create a serving tray to add similar personality to the food I eat.
THE PROCESS
Day 1 – The Body
2019/10/13
To construct my own serving tray, I started to find materials in the woodshop. I got 3 pieces of 1 by 4 pine wood from the scrap bin. Most parts were in good condition. I measured and marked the width of my serving tray; then, I used the miter saw to cut the wood into 4 pieces. I wanted these 4 pieces glued right next to each other, so I used the jointer to flatten both sides of the 4 pieces. Finally, I glued 4 pieces together and clamped the whole piece.
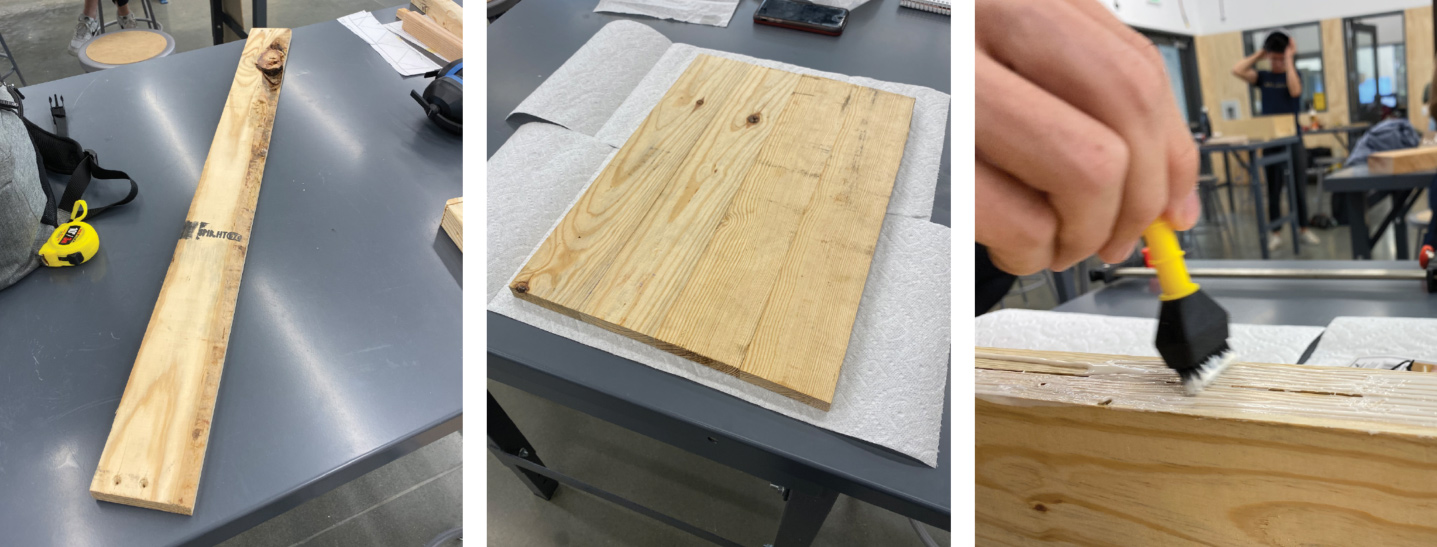
1 by 4 Pine, The body, Applying the glue
Day 2 – The side bar
After the glue dried overnight, I tried to use the planner to flatten the surface, but it was too big to fit the machine. Therefore, I used orbit sander the flatten the different heights of 4 pieces of wood. I used another 1 by 4 pine wood to cut two pieces of wood whose length equals to the length of shorter side of the body part. Then I glued these 2 pieces on the two sides of the body.
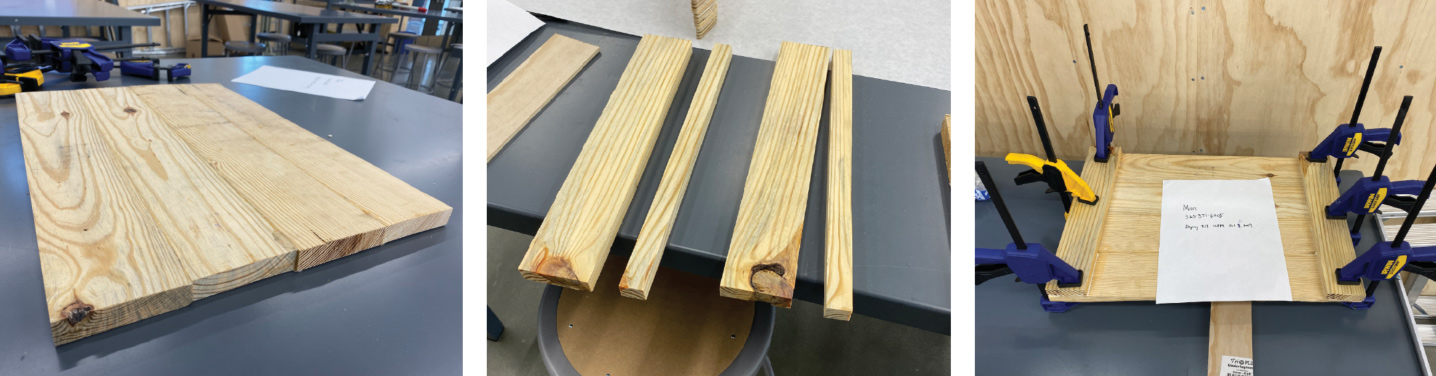
After the glue dries, Two side bars, Clamps
Day 3 – The Handle
The most difficult part of this project is to make the handle. I looked up a few designs online and decided on curved handles at first. I used miter saw to cut several short pieces of wood. I used pencil to sketch the contour of the handle. Unfortunately, when I tried to cut it using band saws, I could not simply cut it with that angle.
After that, I tried to make rounded square handles instead. I used the drill press with 1-inch bit to punch 2 holes on each handle piece as the inner round edges. I used band saw to cut according to the two perpendicular tangents for each circular hole. Then, I used pencil to mark the outer rounded edge and used the disk sander to create the rounded edges. Finally, I used the table router on all edges of the handle to create a small profile of rounded edges. Lastly, I glued the handle on the board.
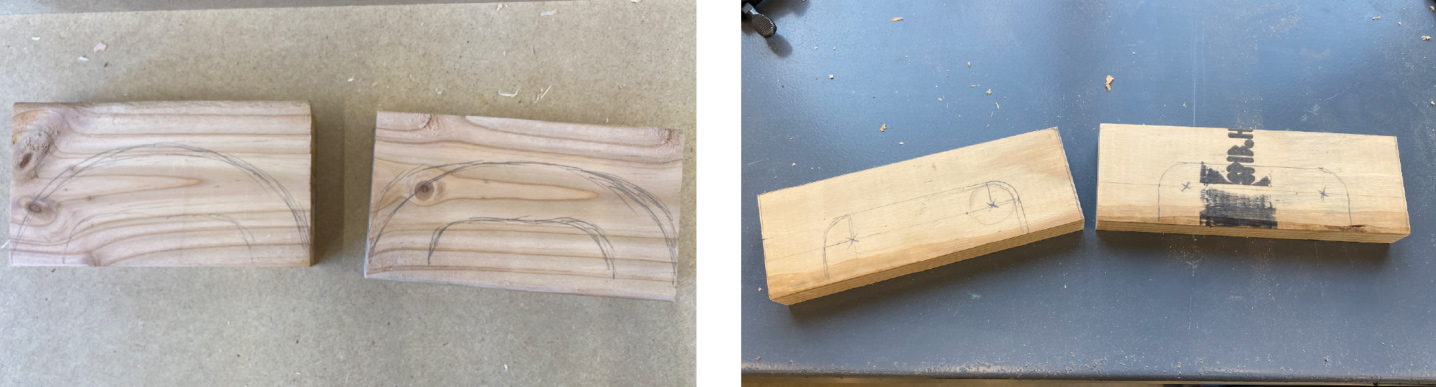
The first plan that did not work, The second plan that worked
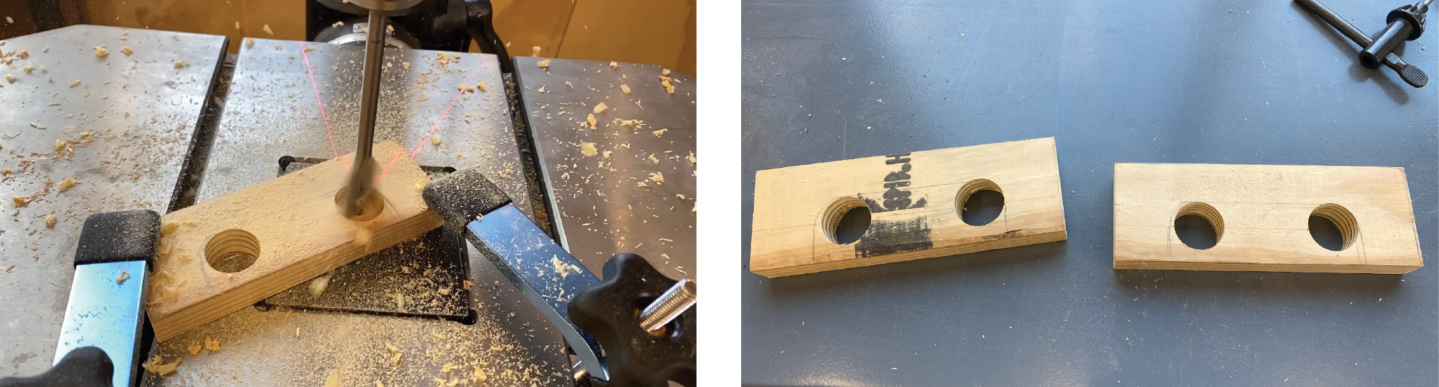
Drill Press, Punching holes
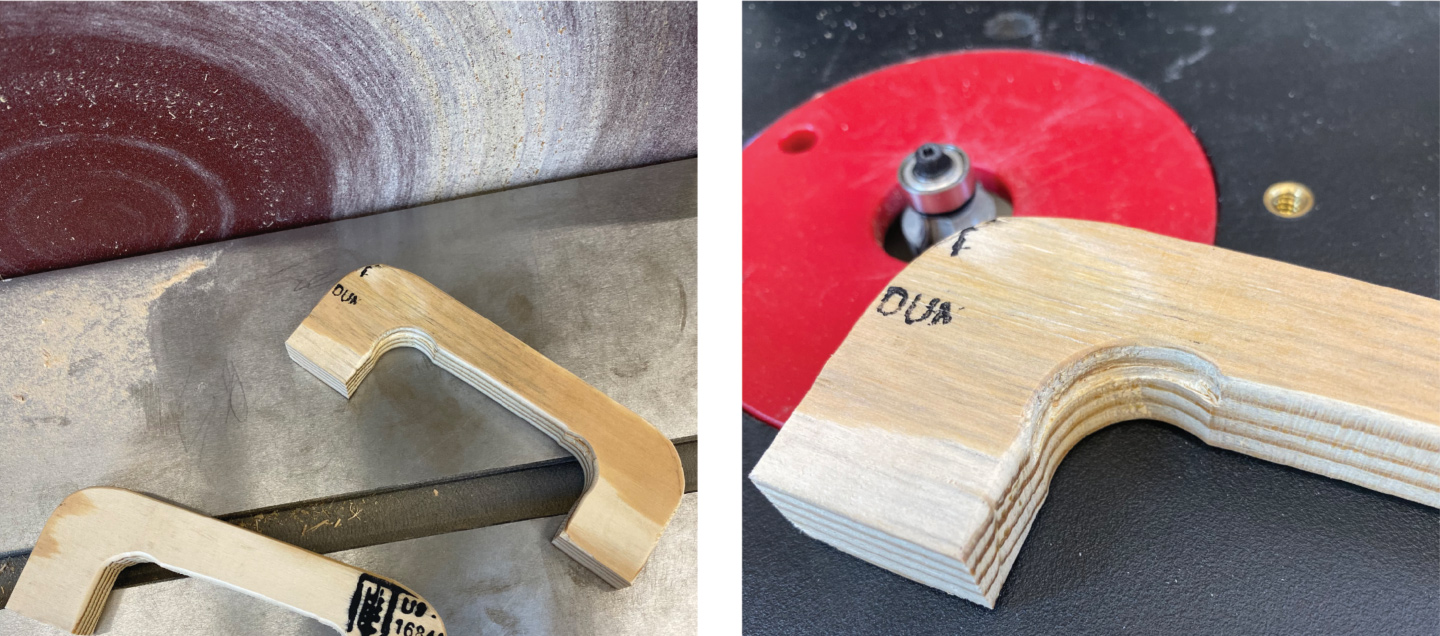
Disk Sander, Table Router
Day 4 – Stain
I applied the dark walnut stain on all surfaces, except the bottom, of my serving tray. I let it dry overnight. When the stain dried, I realized I made a mistake. The stain would not remain on top of the wood glue. I should have completely sanded off the glue exposed.
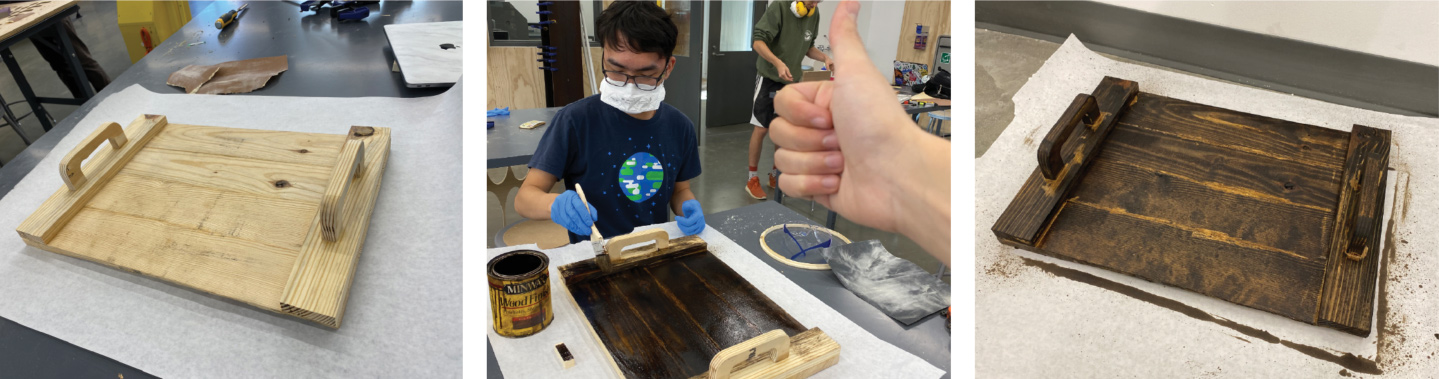
After the glue dries, Me painting the stain, When it dries
Day 5 – Mineral Oil
On Sunday, to make my serving tray food safe, I bought a food-safe mineral oil online and applied it on the top surface.
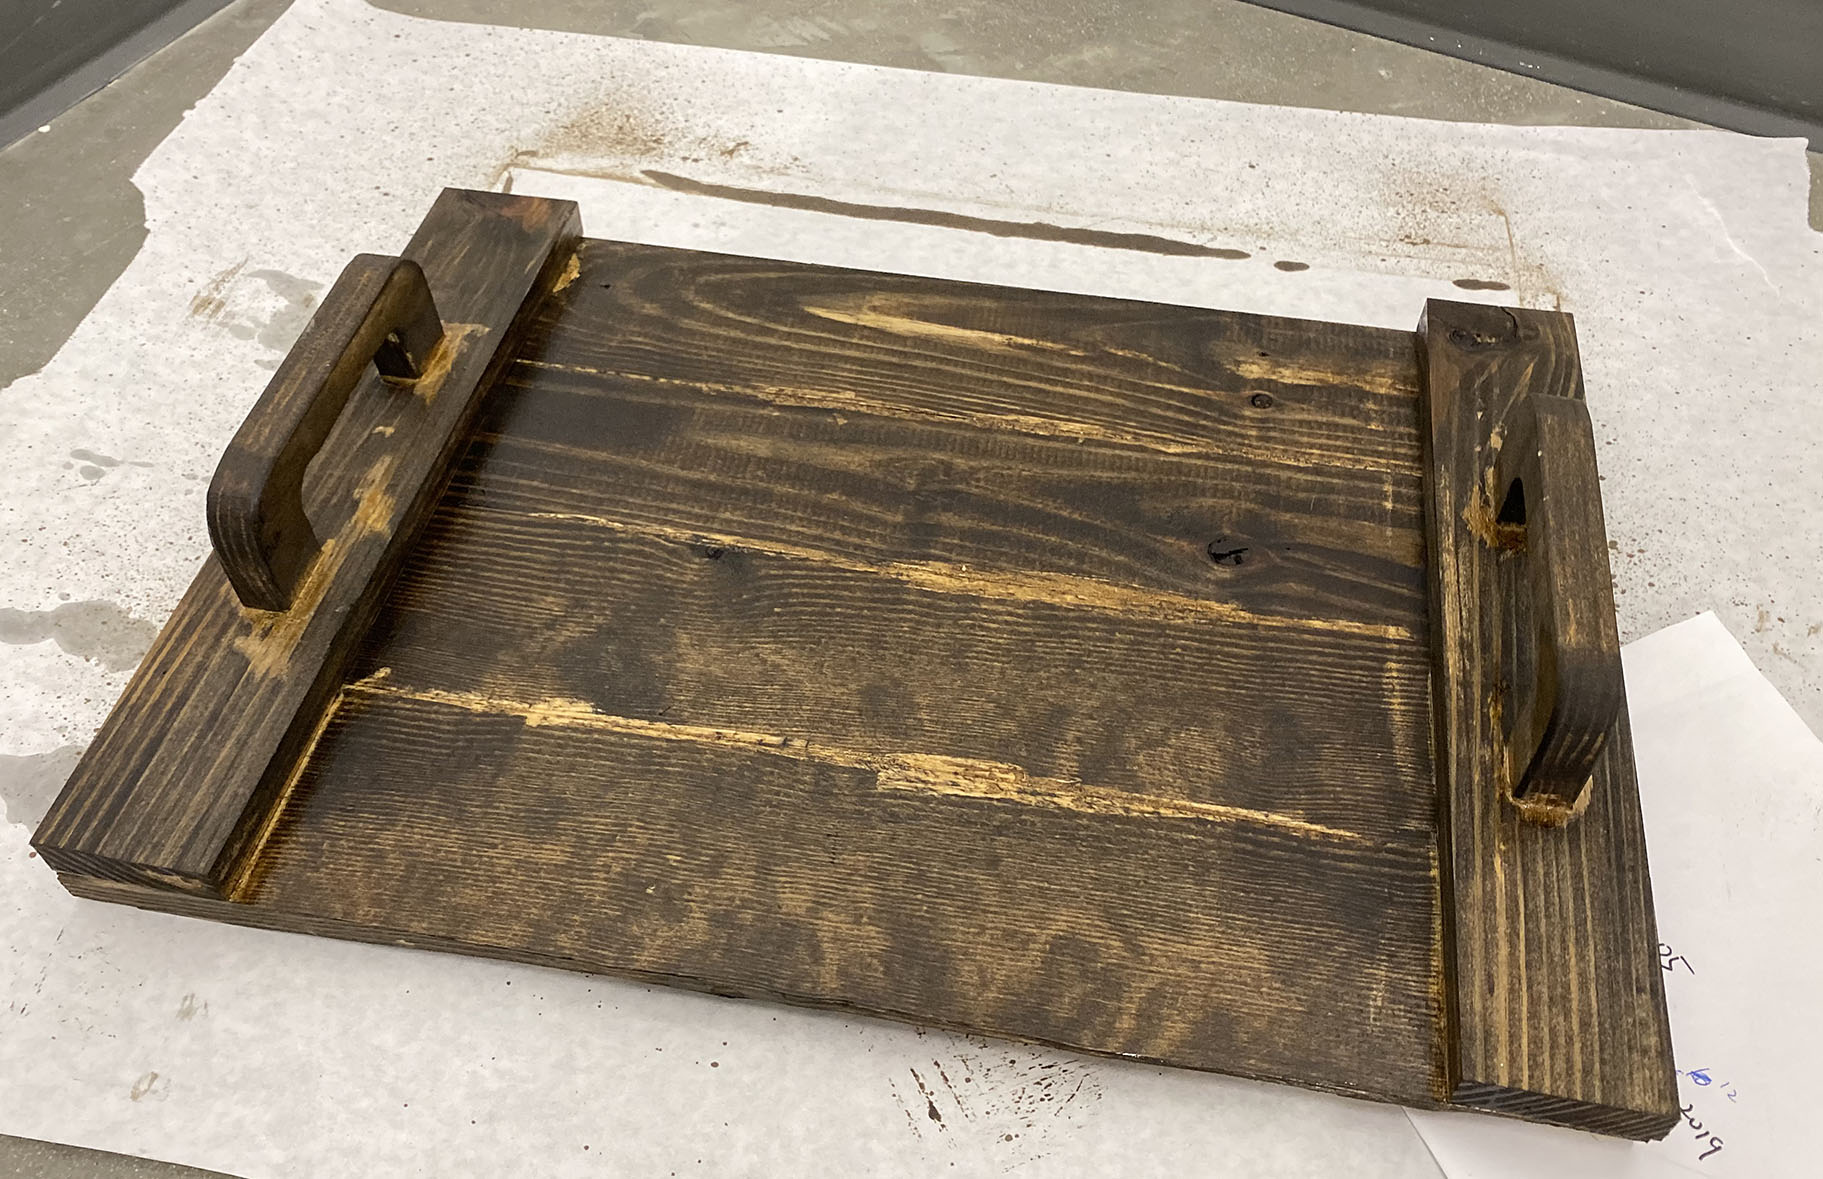
The Serving Tray
Personality
I want my serving tray to have a naturally luxuriant, mature, and upscale personality.
It is the wood material itself and the stain color I chose that produce the personality of my serving tray. Just like the food put on the top of the plate, the material of this wooden serving tray was sourced directly from the nature and went through few human processes unlike polymer.
In addition, I particularly enjoyed using the stain to create a façade and completely change the overall appearance and feeling of a wooden piece. I chose the walnut stain because of the dark color and the fact that walnut is almost never used in construction but usually seen in high-end furniture such as the Shakers’ design.
However, the personality I wanted to convey may not be obvious due to the way I applied the stain. I forgot to clean up the glue and wiped out too much stain with paper tower so the stain layer is not average.
Recyclable - Pixel Art of The Starry Night
2019/10/27
I enjoy pixel arts. Last semester, I made a 8-bit game in JavaScript last semester and love the way pixelated representation of objects and figures. Therefore, I decided to make a pixel art in which each pixel is made of trash or recyclable material. Van Gogh’s Starry Night instantly came to my mind. This artwork has a lot of blue colors, and, fortunately, I have many packaging materials in my room that has different shades of blue.
THE PROCESS
I started this project by contemplating this amazing artwork. I realized that it is unexpectedly detailed and would be hard to translate to a pixel art. Therefore, I looked for other people’s work. I found a pixel art for Starry Night and used Photoshop to reduce the dimension to 48 pixels by 34 pixels and the number of colors to 7. It is 1632 pixels in total. I then used python to count how many pixels for each color to prepare.
![]()
Pixel Art created in Photoshop
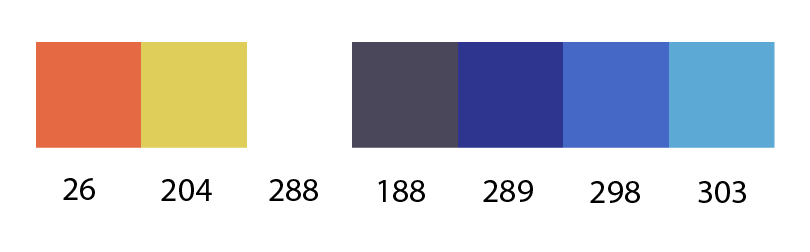
Color Chart
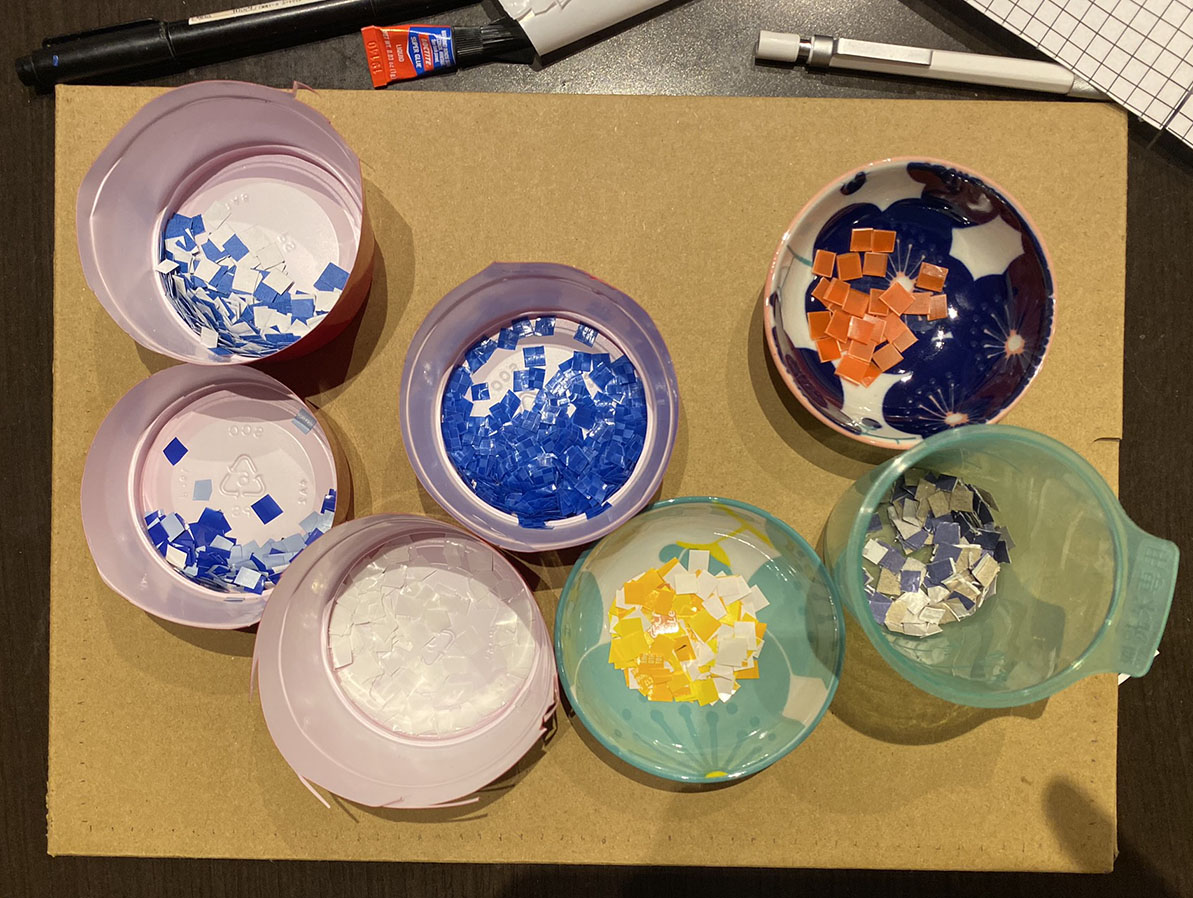
I sought for paper, plastic bags and packaging that have similar color. After that, I made a 48 by 34 grid and printed in 30 cm wide on paper. This dimension fits the cardboard from my useless shoes packaging. I cut the shoebox in appropriate dimension and used pencil to draw the 48 by 34 grid. Each grid is 6 mm wide. I used scissors to cut each material in this dimension and put them into separate bins. This took me about 1 hour.
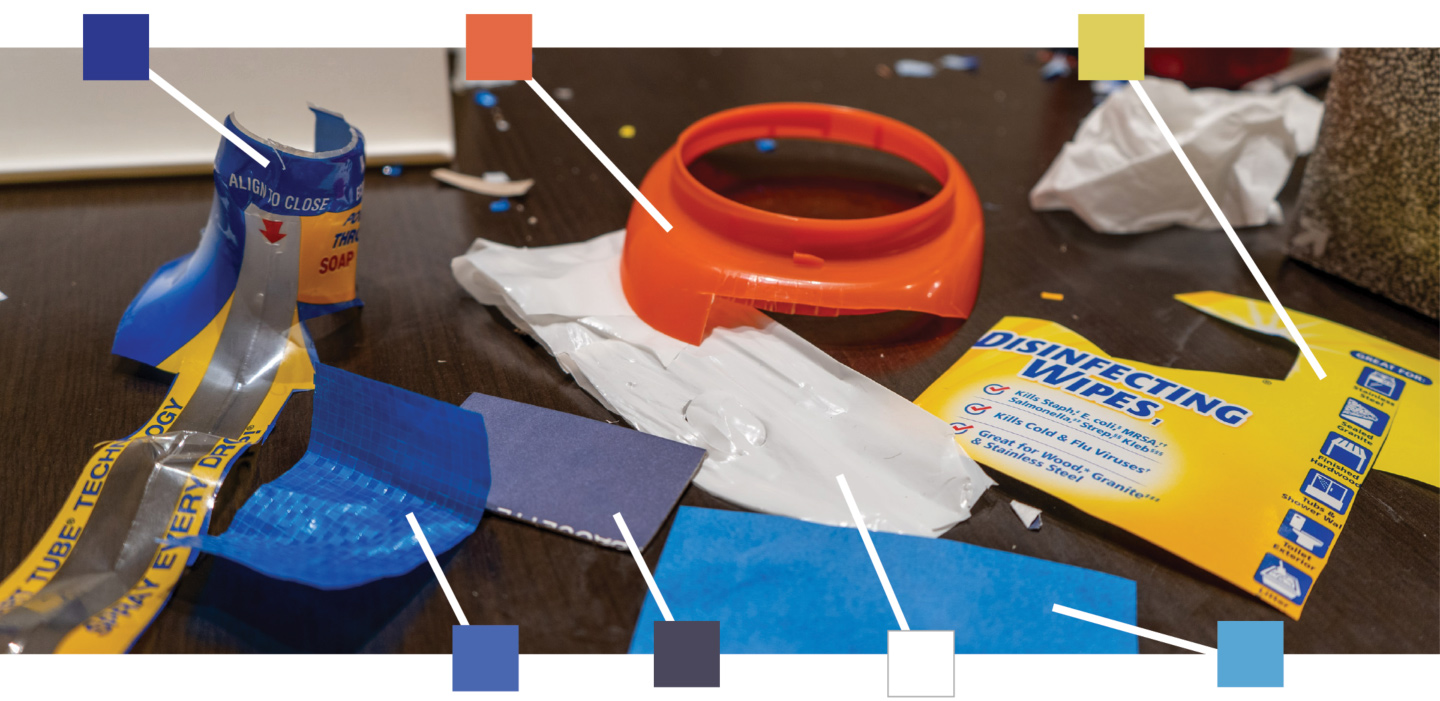
Materials and Colors
Pixels
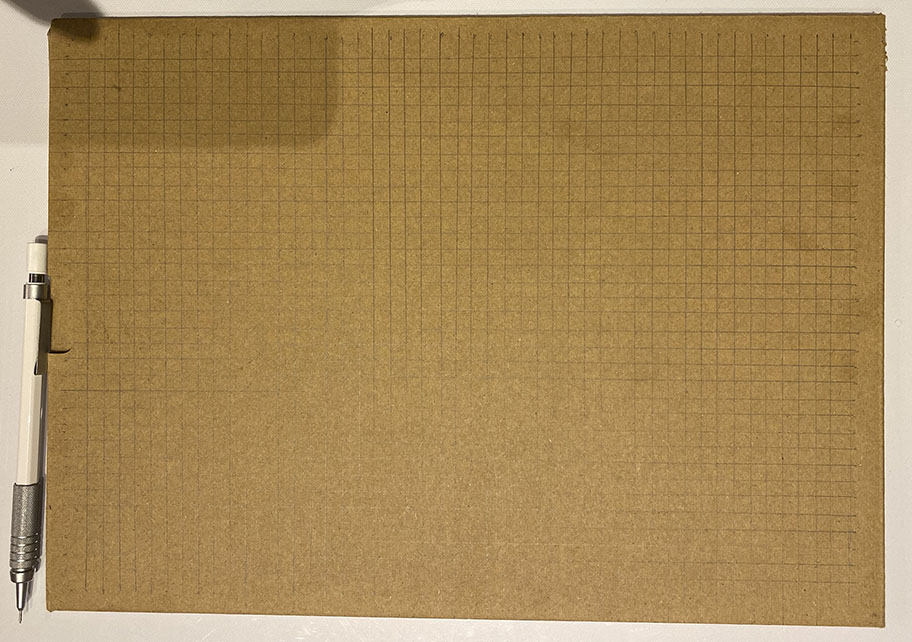
The Grid
The next step is gluing 16 hundred pixels on the cardboard surface. It was an arduous process. Following the progressive scan method, I applied the pixel from left to right, top to bottom. I gradually become skilled at this and found that it was quicker to use scissors as the tweezers to grab the pixel and put them on the board instead of by hand. This took me about 4 hours. Finally, I used extra cardboard to build the supporting stand on the back of the frame.
I want this pixel art to enable people to rethink the value of their trash. It was surprising to me find scraps that have matching colors so easily. Only using some small pieces of paper or plastic packaging, I was able to create this pixel art that has great details. All materials are accessible to everyone, and there are infinite possibilities to repurpose them, rearrange them, and create arts or useful products.
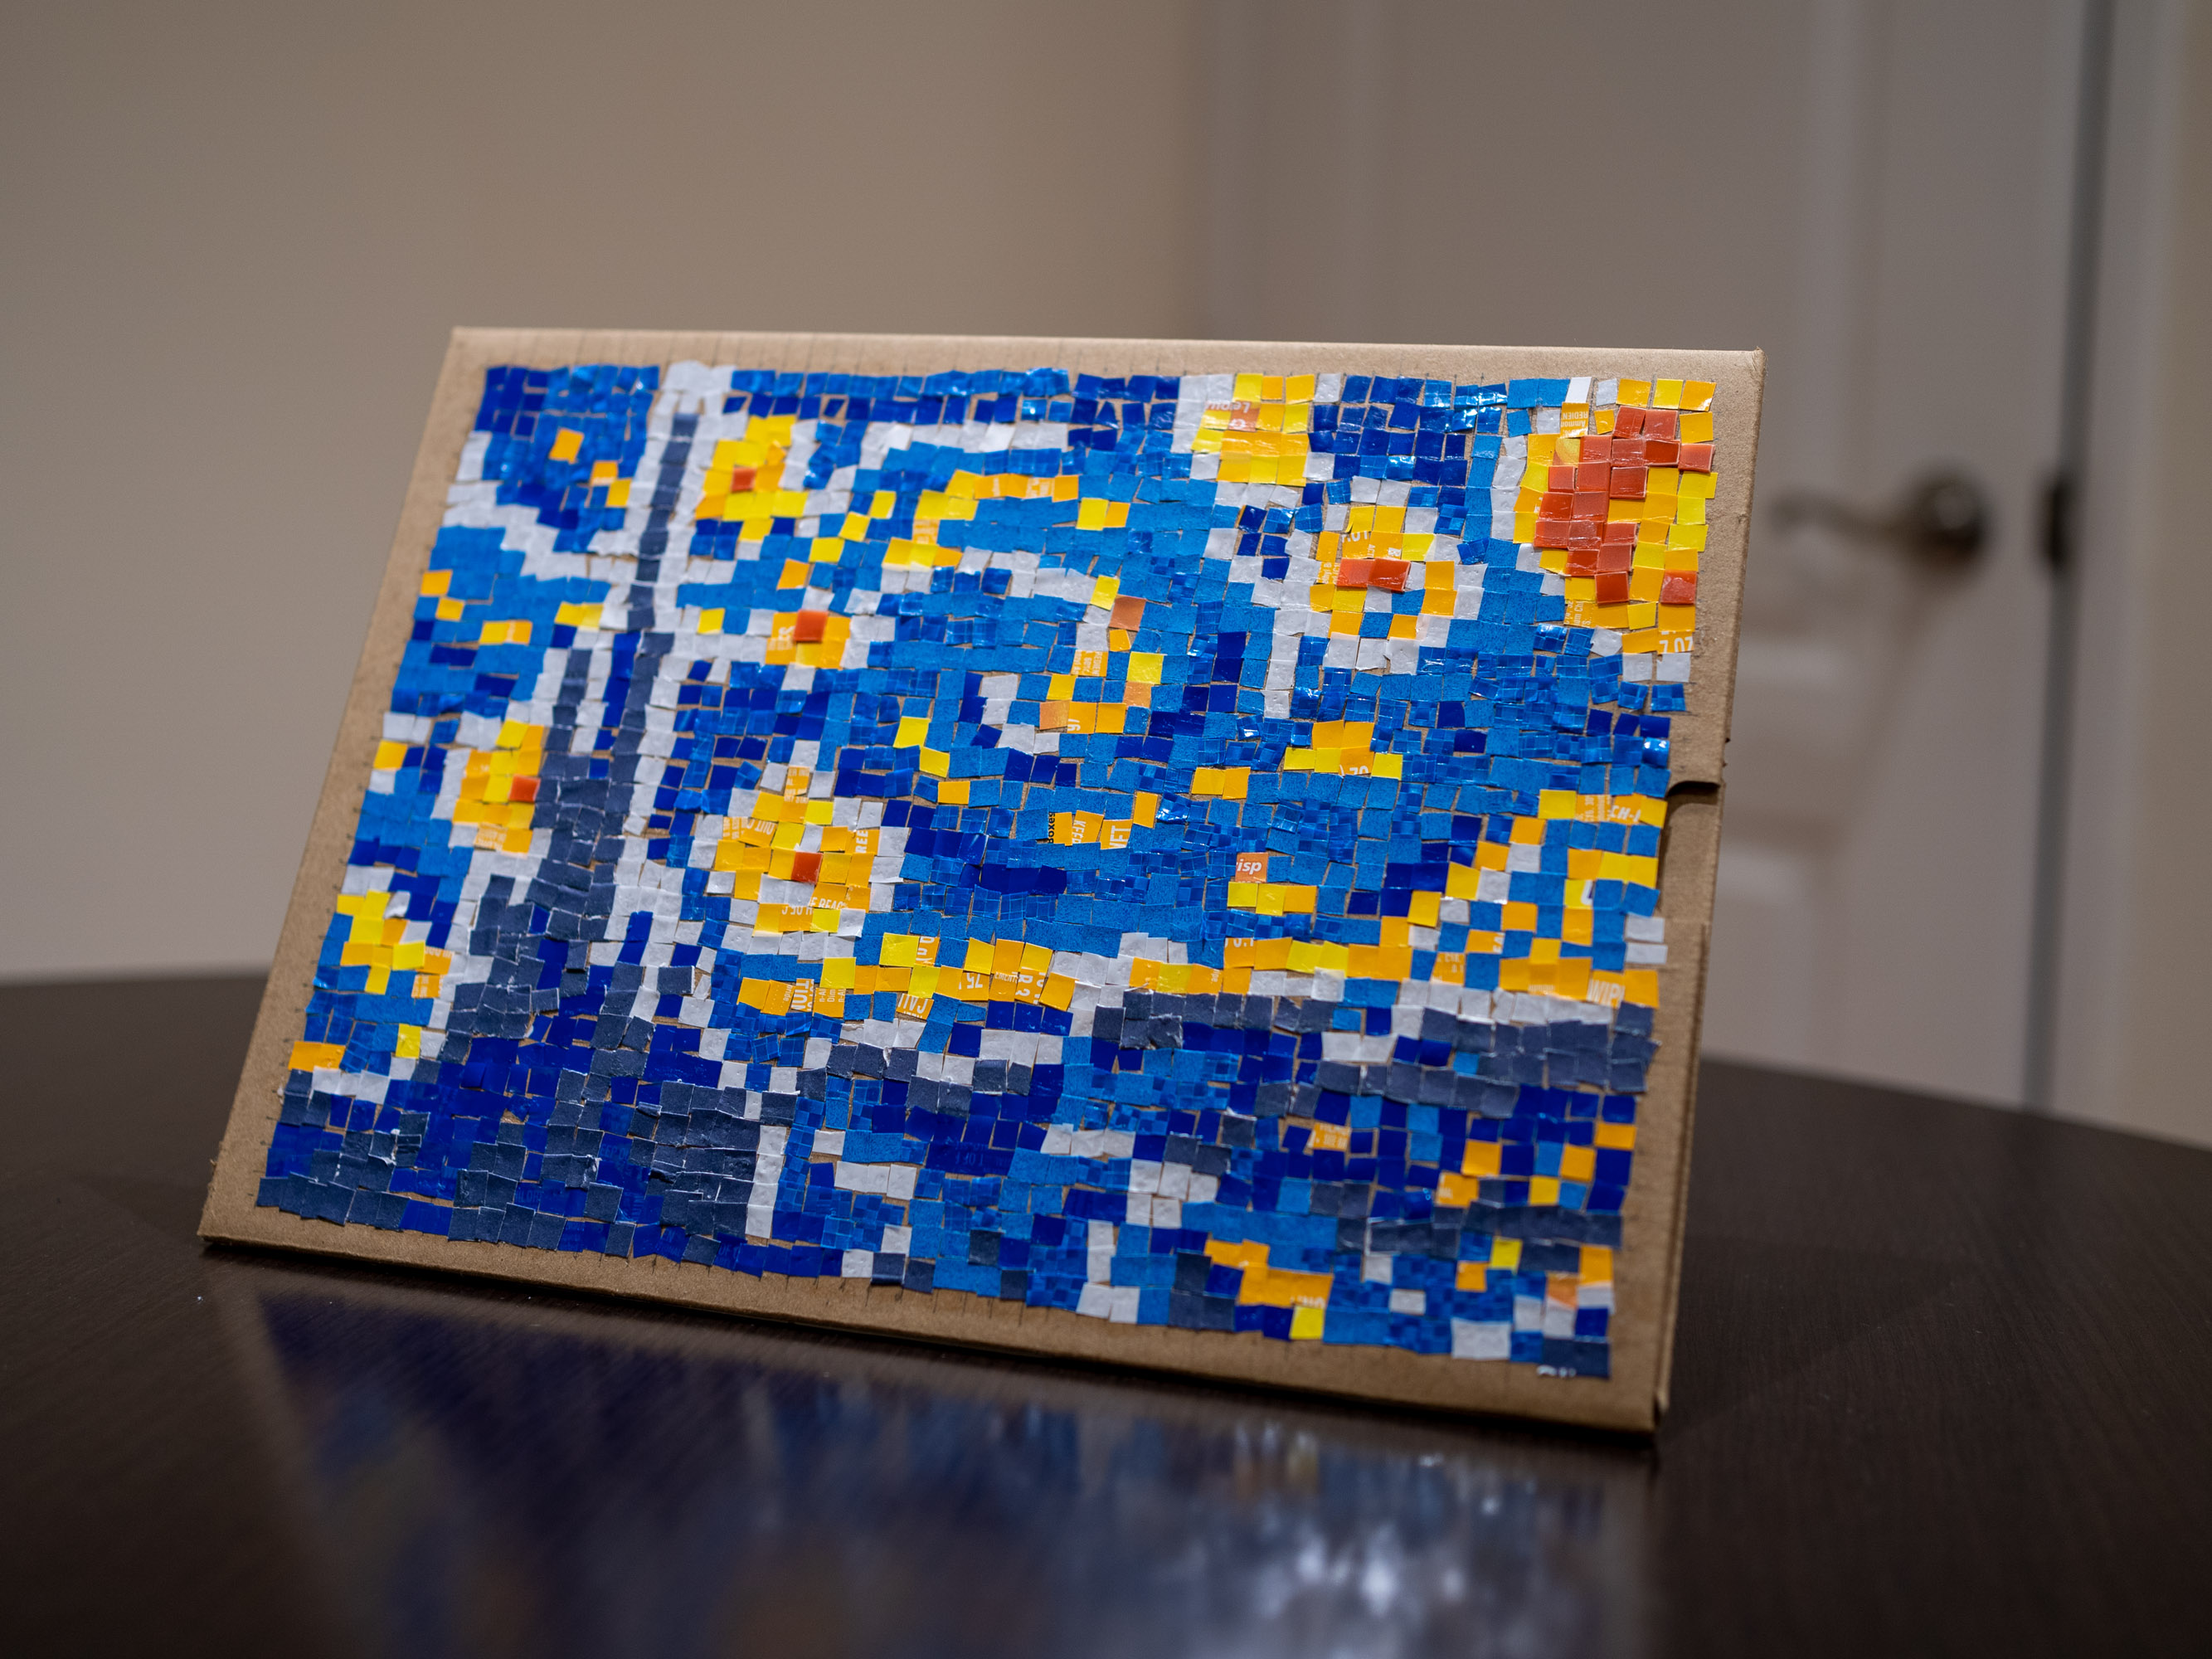
Final - Front
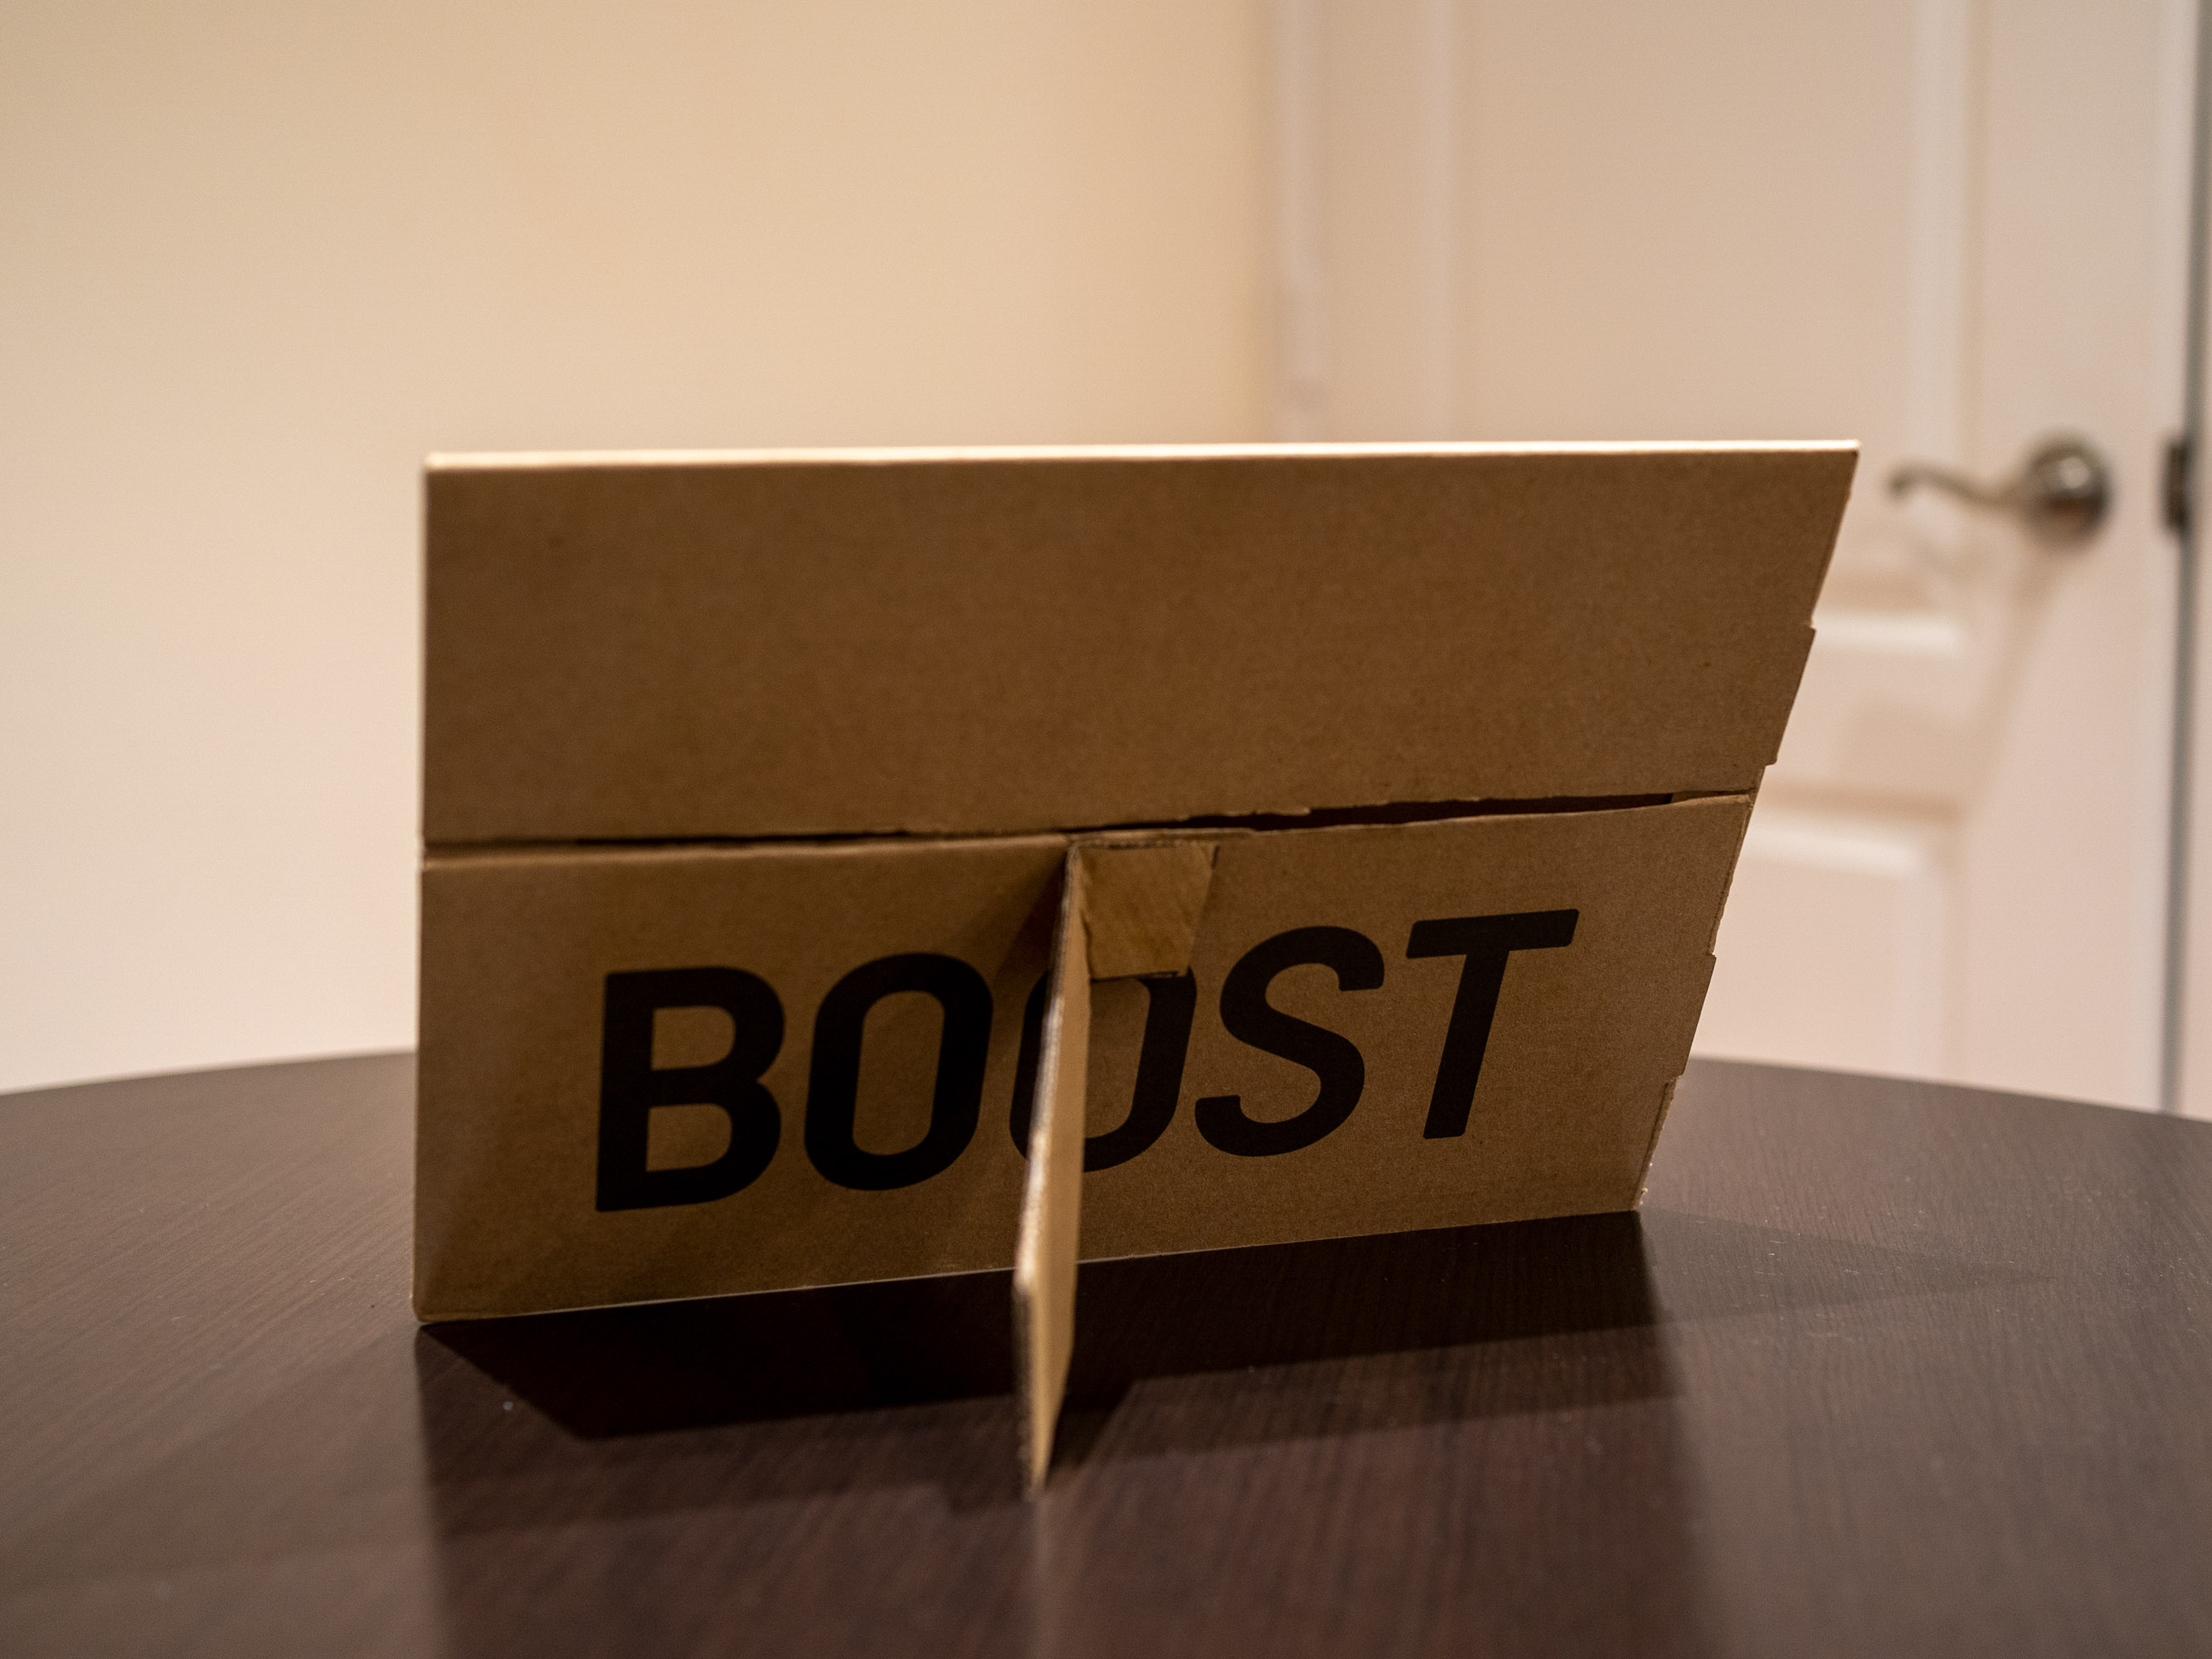
Final - Back
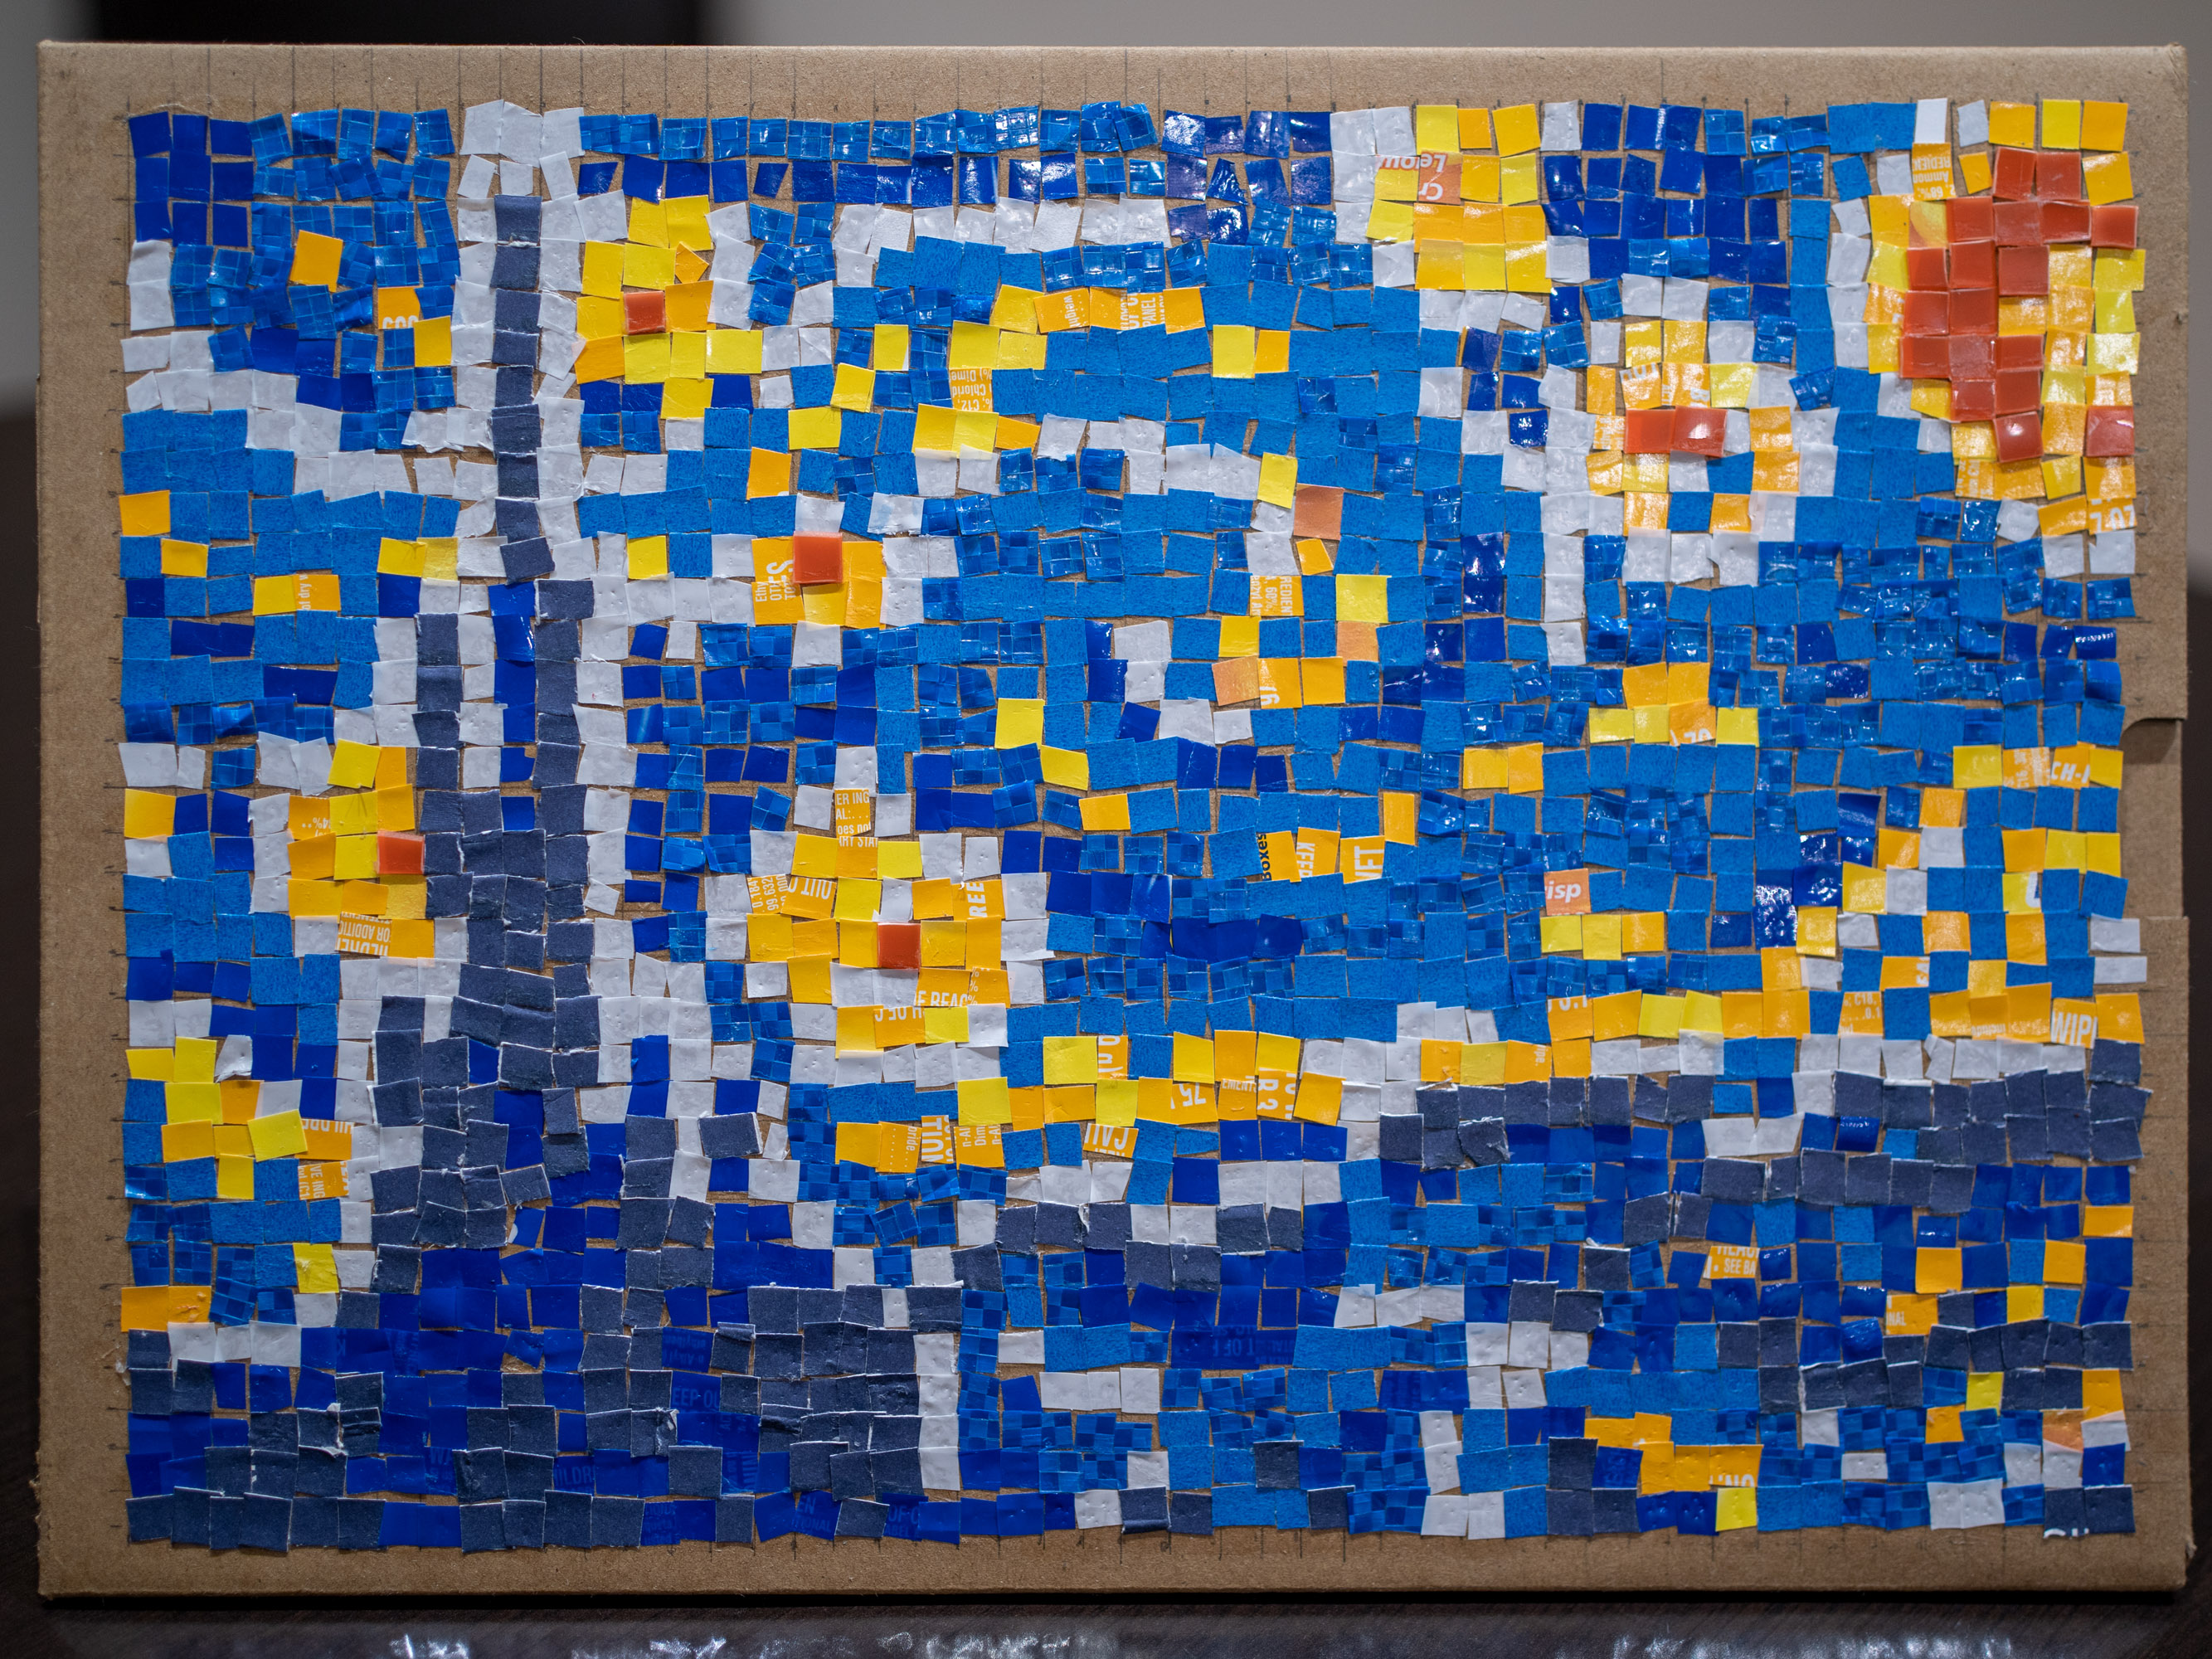
Final - Front